
This is the best ice pack you’ll ever make. Simple, affordable and better than anything you can buy. We show you how it’s done and how to apply it. Simply put we use ice to reduce swelling, and heat to reduce stiffness.
Why DIY ice packs at home?
Imagine your son is for a young soccer player. He’s come off the field really badly injured. He’s got an ankle like a balloon. He needs to get some ice on it. Learn how to make a great ice pack at home fast.
How to make a DIY ice pack fast
Below we show you how to make an ice pack from items you have around your home. All you’ll need is three sandwich bags a seal lock, some ice, and glad wrap.
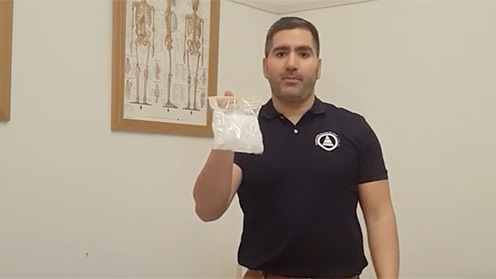
Take one sandwich bags, fill it up halfway with ice and seal lock the bag. Nearing the end of the seal, leave a little bit open, and squeeze the air out and you can suck the remaining out. You should have a bag that contains half ice and the other half is a vacuum.
Take this bag and put it into a second bag. Again we want to seal this bag, and then suck the air out of it. Finally, this second bag goes into a third bag following the vacuuming process again. That’s your ice bag.
The reason why we use three bags so it doesn’t burn you. The reason why we take the air out of it so it doesn’t leak.
Now, you can apply the ice pack to the area with some cling wrap. Use the cling wrap around the ice and strapping over the area to hold it in place.
The DIY ice pack is very easy to do at home, it costs you less than a few dollars to make this ice pack, and you can just reuse the bags once you’re done with it.